Landscape Design
We know that landscaping for your home can seem a little bewildering. Let us help; we work very closely with our design clients to deliver very special outdoor spaces.
If you’re thinking about installing a new landscape, you probably have lots of questions, such as:
- What should we budget for landscaping?
- What materials will work and how do we select them?
- What about choosing plants?
- What features and amenities do we want to include?
- How long does all this take?
- Can the project be done in phases to manage cost?
- What are our family and entertainment needs?
- What about utilities – irrigation, electrical, drainage requirements?
Michigan-specific Design Experts – Landscape Architecture from Ann Arbor and Saline to Plymouth and Northville.
Our landscape designers and architects work with clients throughout Oakland, Livingston, Washtenaw and Wayne counties. As specialists in local landscape design, our goal is to:
- Present you with the ideas that will achieve the ideal outdoor vision for your property
- Bring all the pieces together for you during design to help you make the best choices for your home and family.
Through hundreds of landscape designs and years of refining, we’ve built the Treasured Earth DESIGN/BUILDER Process. The result is a framework that answers each of your questions, and maximizes the creativity our landscape designers can apply to your specific situation. It also allows you to avoid surprises and costly mistakes that can happen as a result of poor landscape and hardscape planning.
So let’s get started! We have already begun work for 2018 – please contact us now or fill out this form and we’ll have plenty of time to make sure the design is just right!
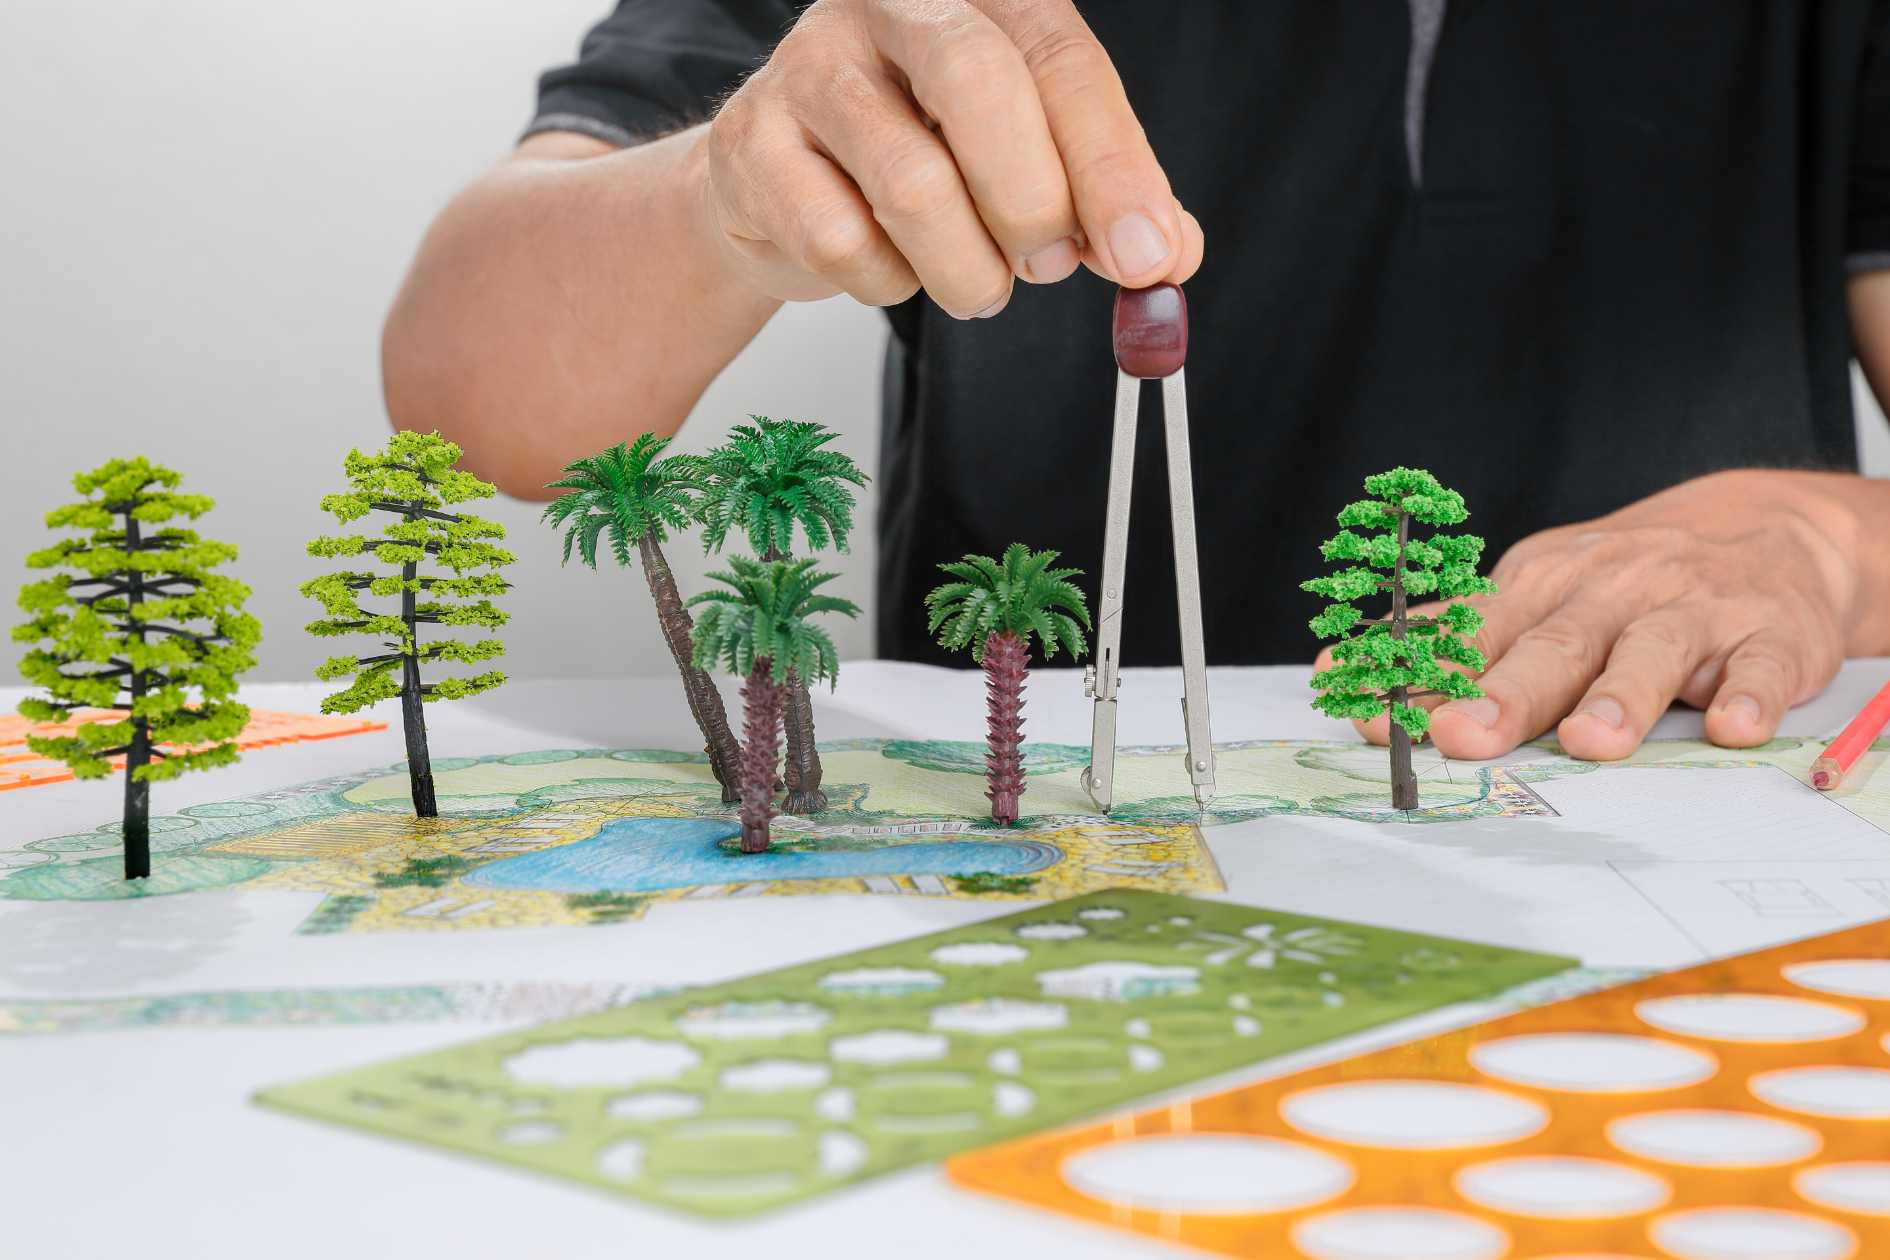
The Landscape Design Process
This is where the fun starts: designing your new outdoor space. The end result is an environment perfectly suited to your property and built exactly to your family’s tastes and budget. For simpler designs, the process may take only a couple of days, while others may take several weeks depending on the complexity and scope of the project.
STEP 1: PROJECT EVALUATION
- Site assessment and preliminary measurements / grade calculations
- Determine overall functionality of new space
- Review client tastes and preferences
- Develop client “wish list”
- Establish client budget
- Complete ClientStyles survey to determine Client’s overall design style and tastes
OUTPUT: Rough project concepts and preliminary cost analysis
STEP 2: CONCEPT DEVELOPMENT
- Detailed site assessment w/elevations, grades, etc.
- CAD layout and scaling in Dynascape software
- Plant selection based on soil assessment, exposure, and client preferences using Horticopia software
- Spatial flow calculations (house to deck to patio to garden, etc.)
- Assess architectural tie-ins to house structure
- Build 3D models as necessary
- Hardscape materials selection begins
- Study lines-of-sight and screening on site
- Determine impact of onsite factors (septic field(s), drainage swales, foundation drainage, etc.)
- Determine impact of zoning, easements, township setbacks, workarounds (resolve problems with build/township, etc.)
OUTPUT: Concept chosen and transferred to CAD system for ongoing development
STEP 3: FINAL DESIGN
- Final, scaled plan suitable for build team
- Detailed, categorized cost estimate
- Determine time frame for construction schedule
- Order long lead materials
- Schedule subcontractors as required
- Plant materials finalized
- Hand select materials and choose specimens at supplier site with client
- Finalize utilities (irrigation, electrical & A/V outlets as needed, drainage plans, etc.)
- Submit final plans to building department (if required)
- Submit final plans to Homeowners Association (if required)
- Obtain permitting for work (as required)
OUTPUT: Final design, build schedule and detailed cost quote
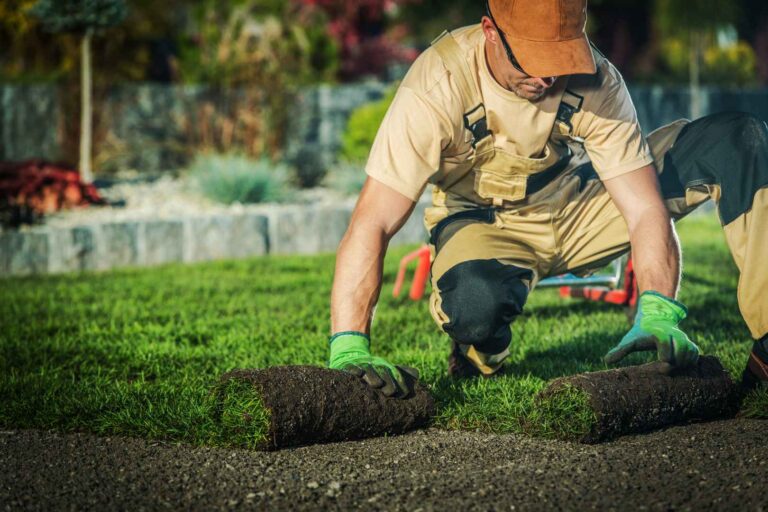
STEP 4: PROJECT BUILD
- Ongoing contact with design team
- Modifications made to plan as necessary during construction
OUTPUT: Completed project
Design Fees
Landscape design costs are determined by the size and complexity of your project. Every landscape we create is is different; design depends on the characteristics of your property (and of course your goals for your yard). Your landscape designer will let you know the cost (if any) of your new design when you meet with them.
We spend a lot of time to make sure your new landscape plan is done right, from conceptual sketches all the way through to how the utilities and drainage will be routed. Please refer to the Design Process page to see what’s included when we design your new landscaping.
Sample Design
STEP 1: PROJECT EVALUATION – The Client’s main goals for their backyard were: to create a rustic, easy going entertaining area, a large dining area, lush plantings to provide privacy from neighbors, and re-contouring of the land to mitigate drainage problems. Their budget was established, after which we built a Functional Map of the entire area to be renovated. (The functional map outlines the intentions of the new space, assigning a function for each component space.) We then drafted several concepts that addressed the functional goals of the new landscape. (The actual rough conceptual drawings are below.)
Functional Map
Click to Enlarge
Concept 2
Click to Enlarge
Concept 1
Click to Enlarge
STEP 2: CONCEPT DEVELOPMENT – After completely surveying and measuring the property,a concept was chosen and developed. Treasured Earth and the Client worked closely in order to assess alternatives and challenges quickly and efficiently. 3-D models were developed to help the client understand spatial relationships, lines of sight and hardscape details. (see image at right)
3-D Design
Click to Enlarge
STEP 3: FINAL DESIGN – The master CAD plan was refined with plant names, technical specifications, utility specifications and materials take-offs. The resulting plan was then used to generate a categorized cost estimate and phased implementation schedule for the project build. (see image at right)
Final Design
Click to Enlarge
STEP 4: PROJECT BUILD – Over the course of the next month, the project was constructed with ongoing modifications as required. The project took 445 man-hours to complete, in addition to 35 tons of natural stone, 45 tons of gravel and over 150 plants. (see image at right)
Final Project
Click to Enlarge